发布规范
以发版GH-1309需求为例
建议使用官方开发工具--isx-cli github地址:https://github.com/isxcode/isx-cli
1.备份代码
将isxcode组织中需求分支代码,强行推送到自己的仓库备份,防止代码回滚。
# 更新组织代码
isx git fetch upstream
# 切换到需求分支
isx checkout 1309
# 更新需求分支代码
isx pull
# 强行推到自己的仓库
isx push -f
2.合并开源代码冲突
cd spark-yun
git rebase upstream/main
git rebase --continue
3.合并闭源代码冲突
cd vip
git rebase upstream/main
git rebase --continue
4.检查sql脚本文件名称规范,检查多数据源脚本是否有遗漏
V${sql_index}__GH-${issue_number}.sql
resources/db/migration/h2/V22__GH-1309.sql
resources/db/migration/mysql/V22__GH-1309.sql
resources/db/migration/postgres/V22__GH-1309.sql
5.本地测试是否可以正常打包
isx package
6.使用本地的docker启动数据源,测试多数据库
修改配置文件
application-local.yml
H2
org.h2.Driver jdbc:h2:file:~/.zhiqingyun/h2/data;AUTO_SERVER=TRUE
# 备份本地数据
isx backup bak_20251030
MySQL
driver-class-name:com.MySQL.cj.JDBC.Driver url:jdbc:mysql://localhost:30306/isxcode_db
docker run \
  --name ispong-mysql \
  --privileged=true \
  -d \
  -p 30306:3306 \
  -e MYSQL_ROOT_PASSWORD=root123 \
  -e MYSQL_DATABASE=isxcode_db \
  mysql:8.0
PostgreSQL
driver-class-name:org.PostgreSQL.Driver url:jdbc:postgresql://localhost:54302/isxcode_db
docker run \
  --name isxcode-postgre \
  --privileged=true \
  -d \
  -p 54302:5432 \
  -e POSTGRES_USER=root \
  -e POSTGRES_PASSWORD=root123 \
  -e POSTGRES_DB=isxcode_db \
  postgres:14.5
7.调整sql脚本,并强行推送代码
isx git push upstream GH-1309 -f
8.提交pr到main分支
isx pr 1309 -m
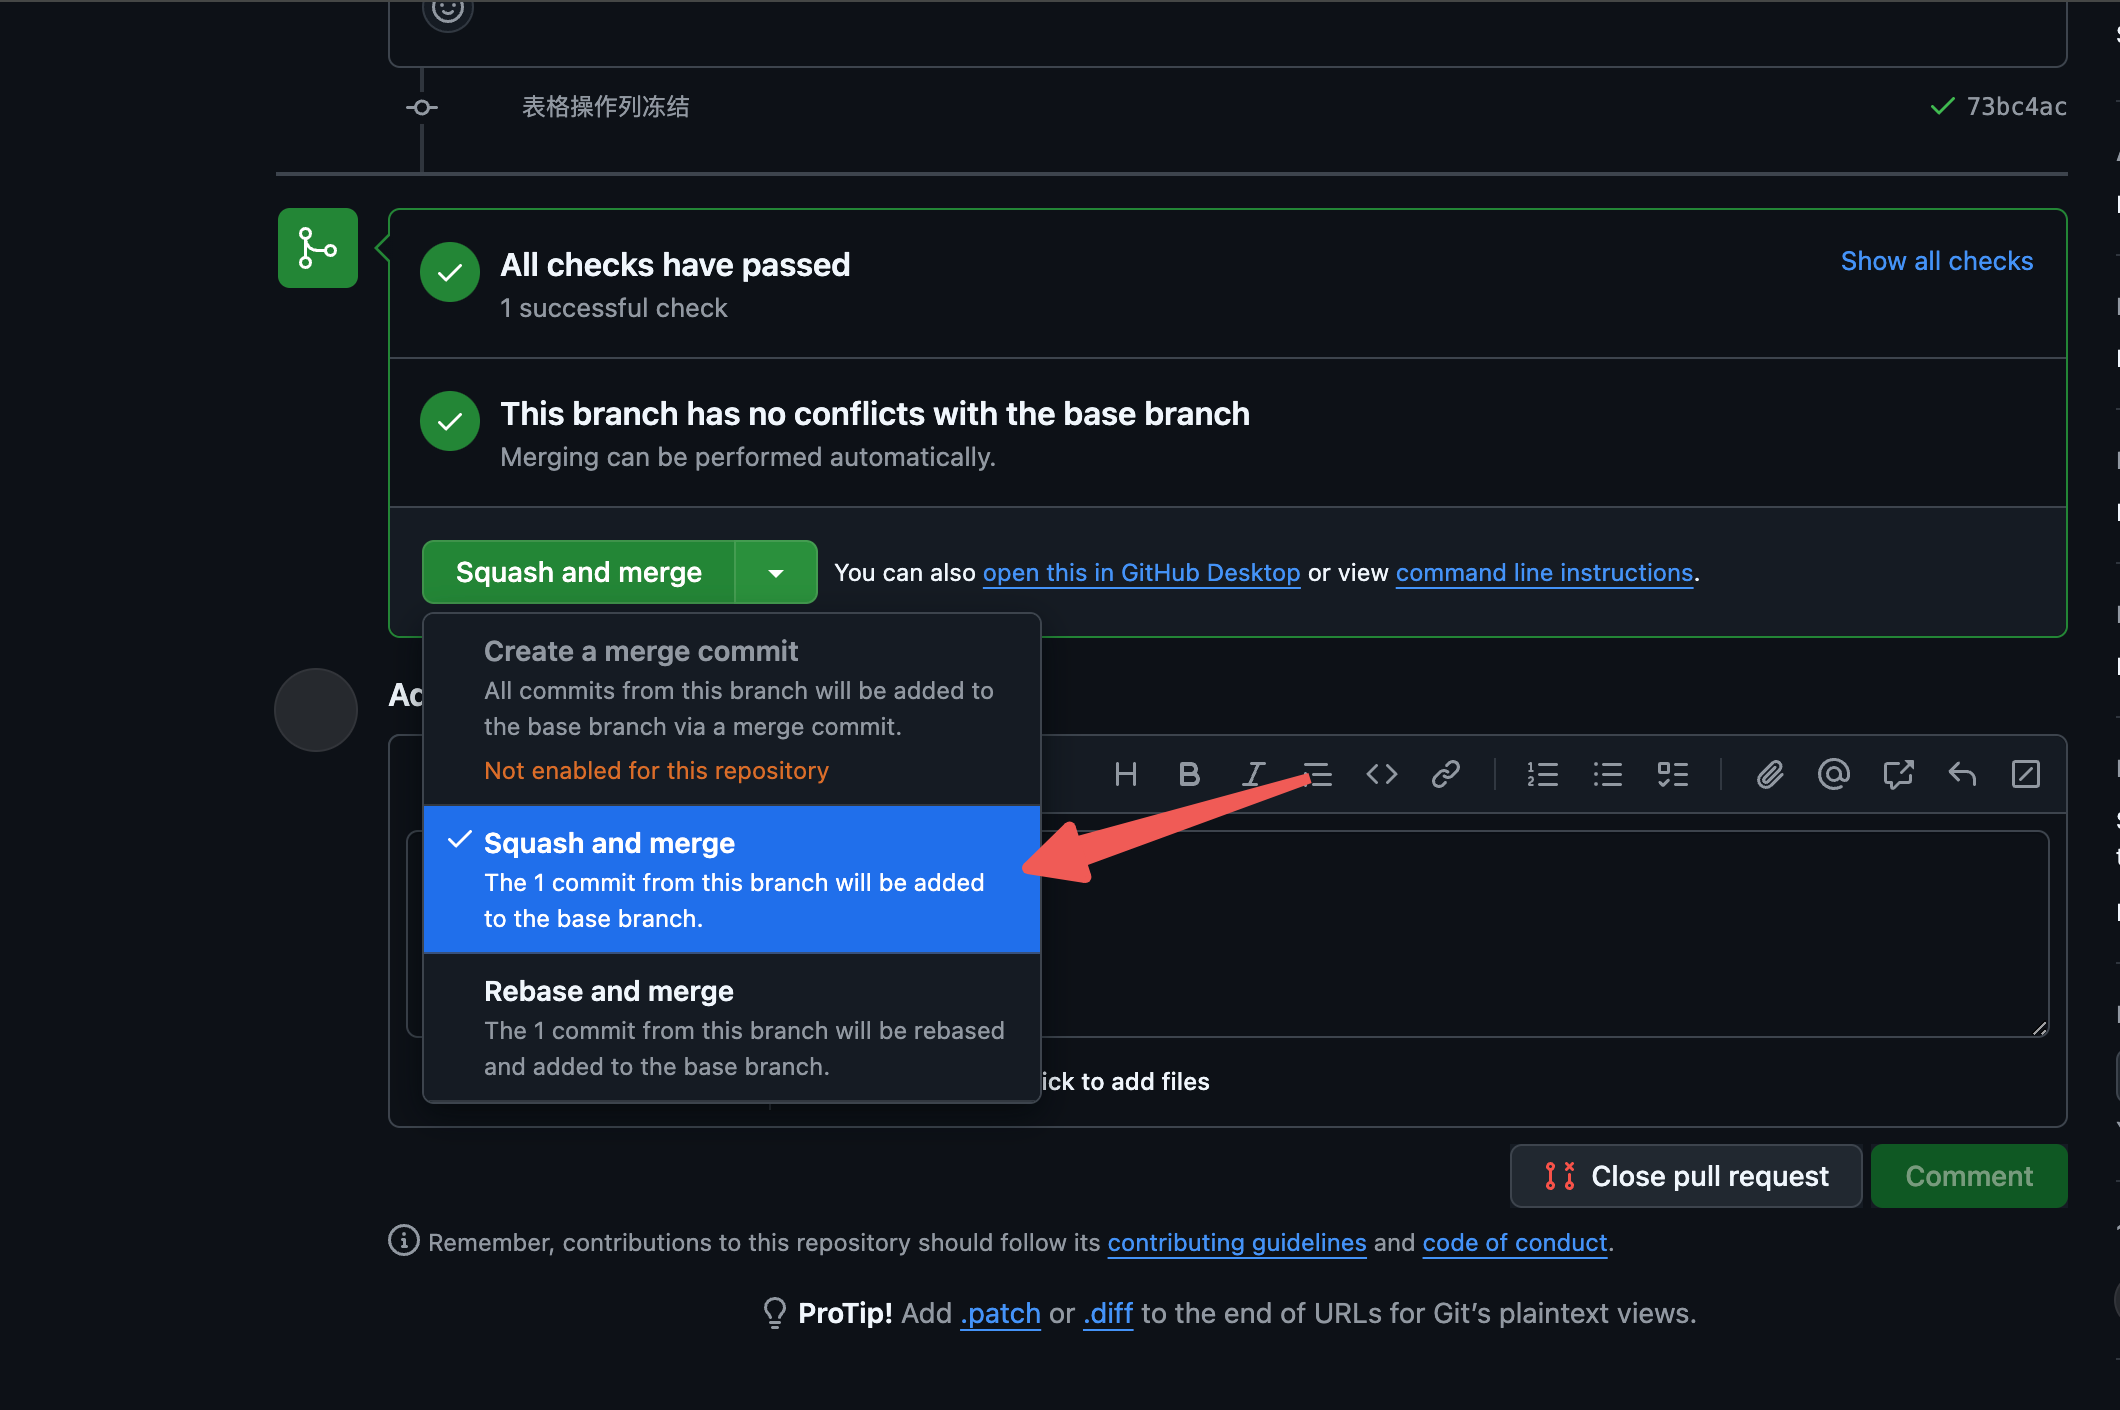
9.Github界面使用Squash and merge方式合并
https://github.com/isxcode/spark-yun/pullshttps://github.com/isxcode/vip/pulls
10.Github中关闭issue,并删除分支
https://github.com/isxcode/spark-yun/issues/1309
isx delete 1309
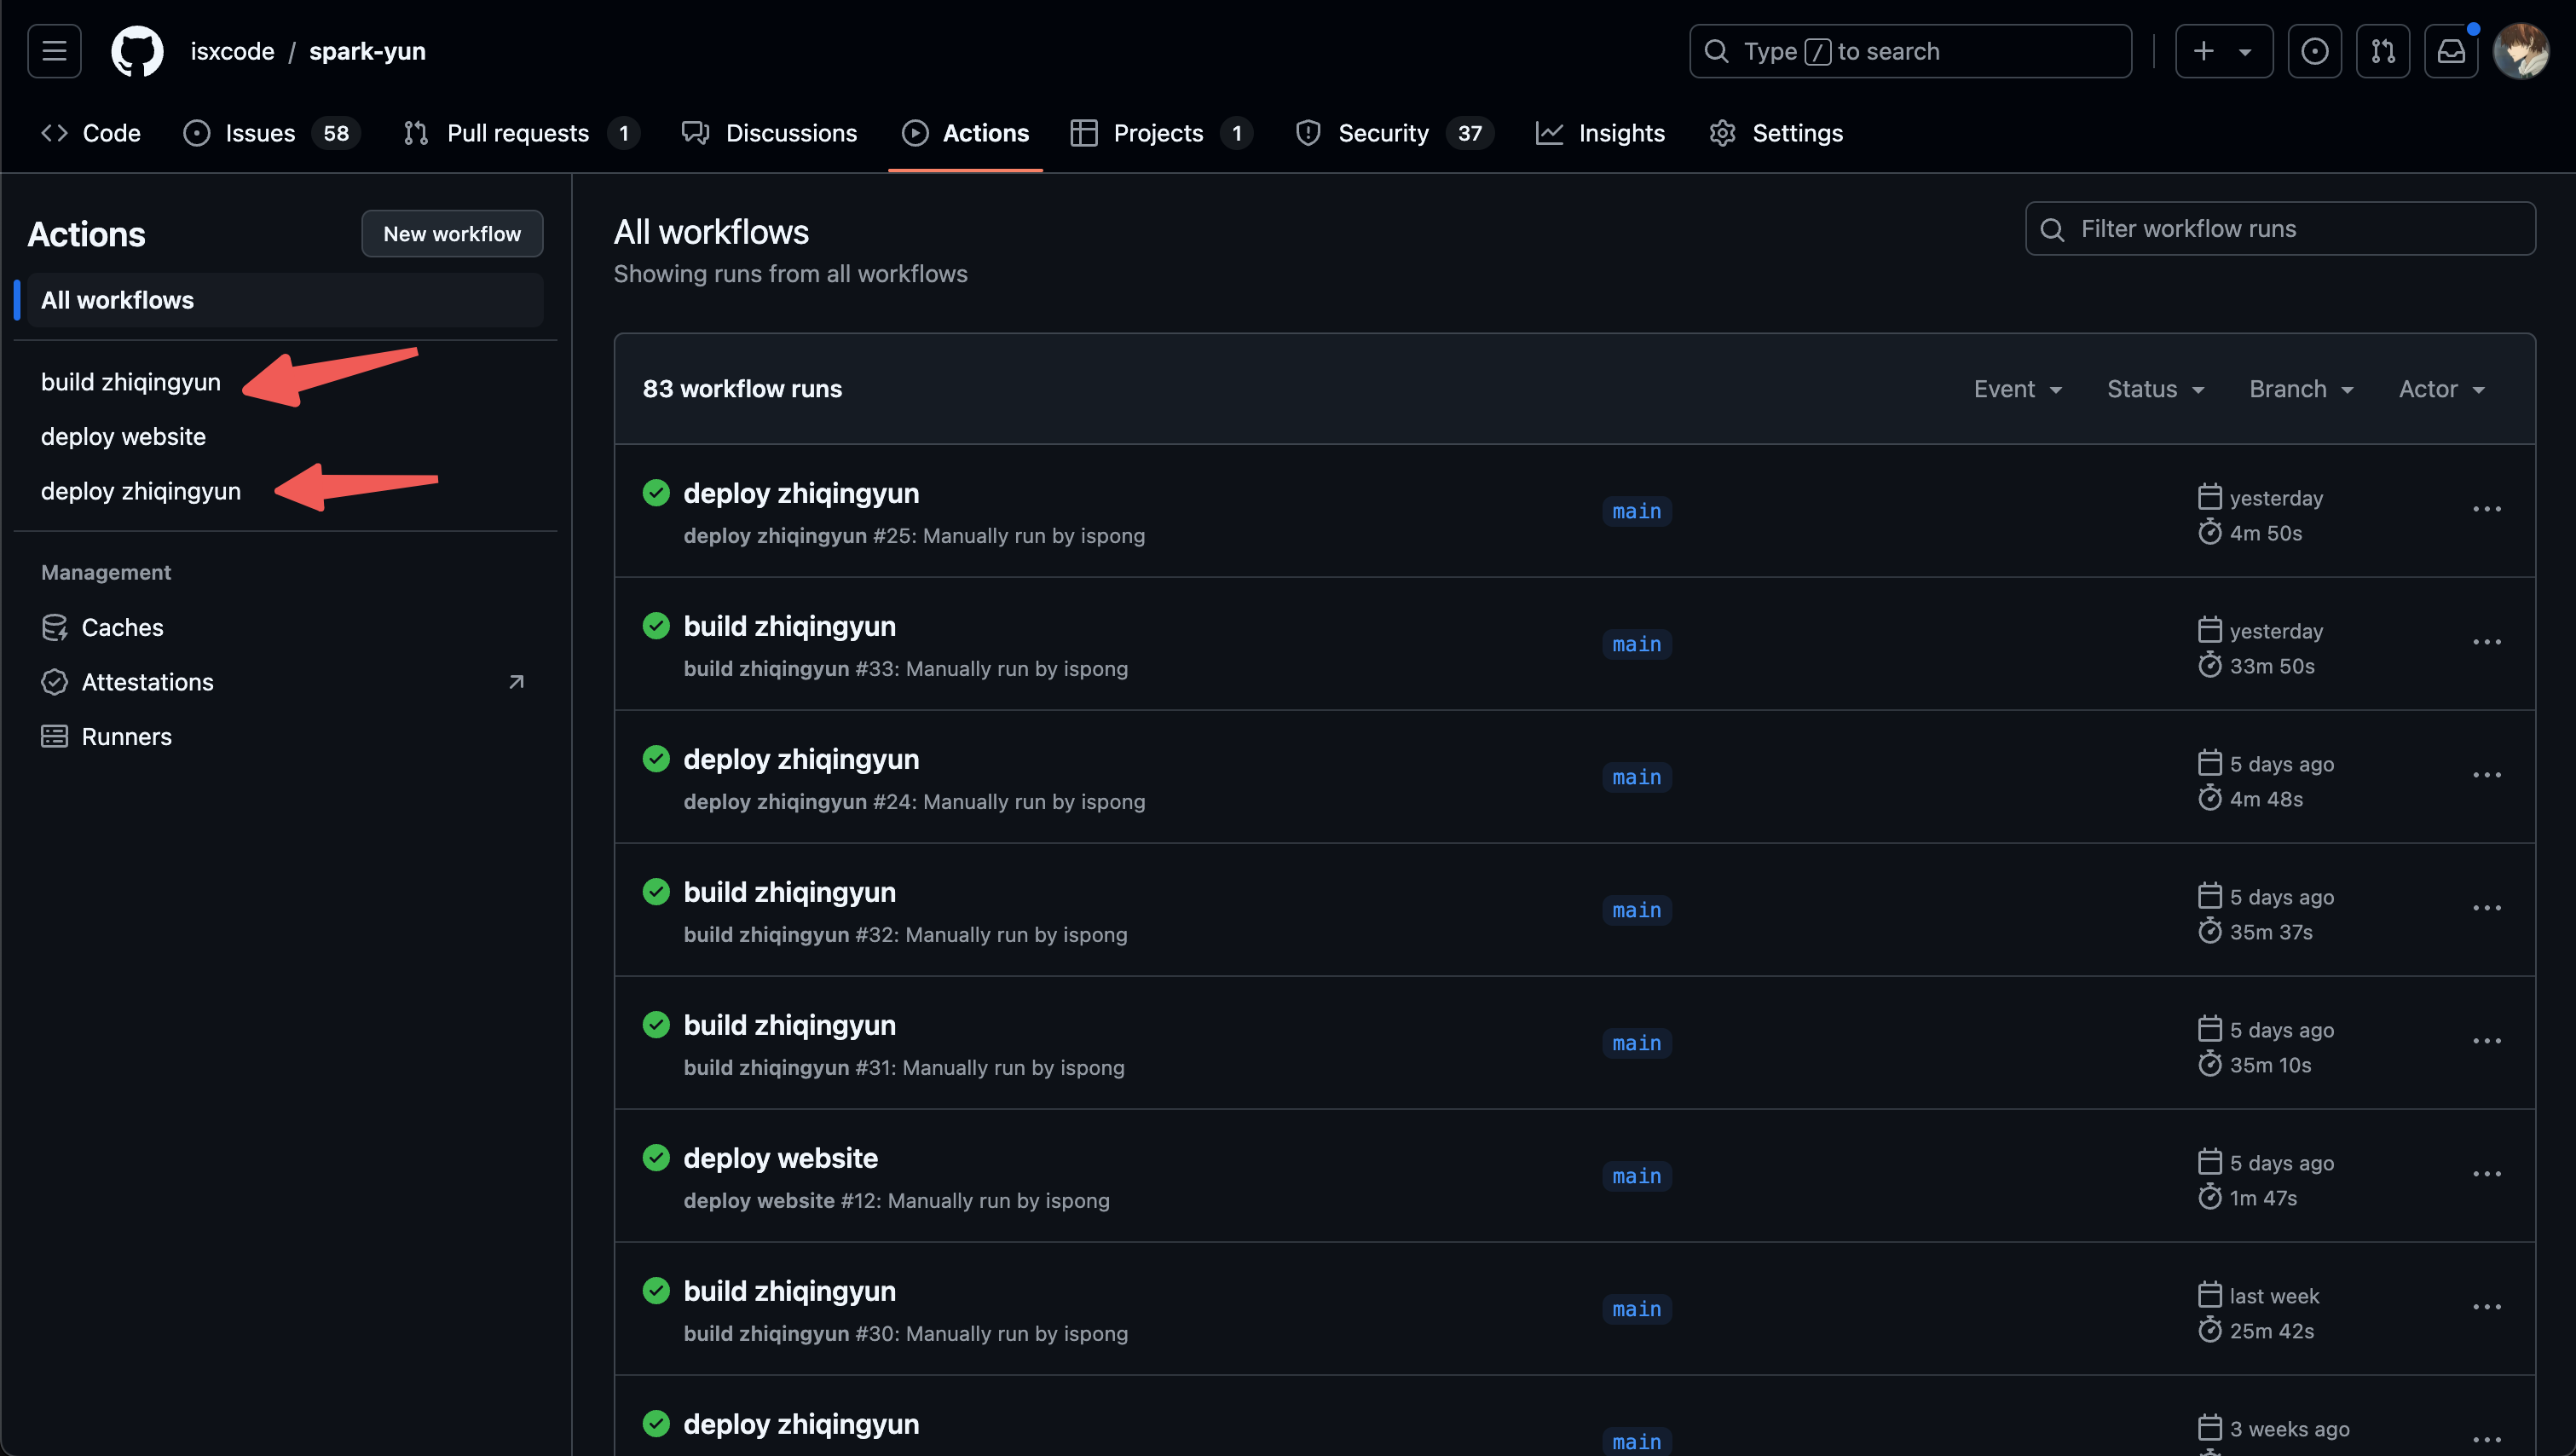
11.GitHub action中先打包后部署
https://github.com/isxcode/spark-yun/actions/workflows/build.ymlhttps://github.com/isxcode/spark-yun/actions/workflows/deploy.yml